Having a well-managed Google Business profile is essential for your business’s online visibility. A key part of this management is being able to share access to your profile with other members of your team. Here, we explain step-by-step how to add a user to your Google Business profile so they can help you keep information updated and respond to customer reviews (and give these users access to your business profile on Localboss as well). Remember that only the owner and managers have the permissions to perform this action.
Step 1: Sign in to Google My Business
The first thing you need to do is sign in to your Google My Business account. You can do this by visiting Google My Business and logging in with your Google account credentials.
Step 2: Select the Business Profile
Once inside your account, select the business you want to add a user to. If you manage multiple profiles, make sure to choose the correct one. You can access this tab here: Google My Business Locations.
Step 3: Access the User Menu
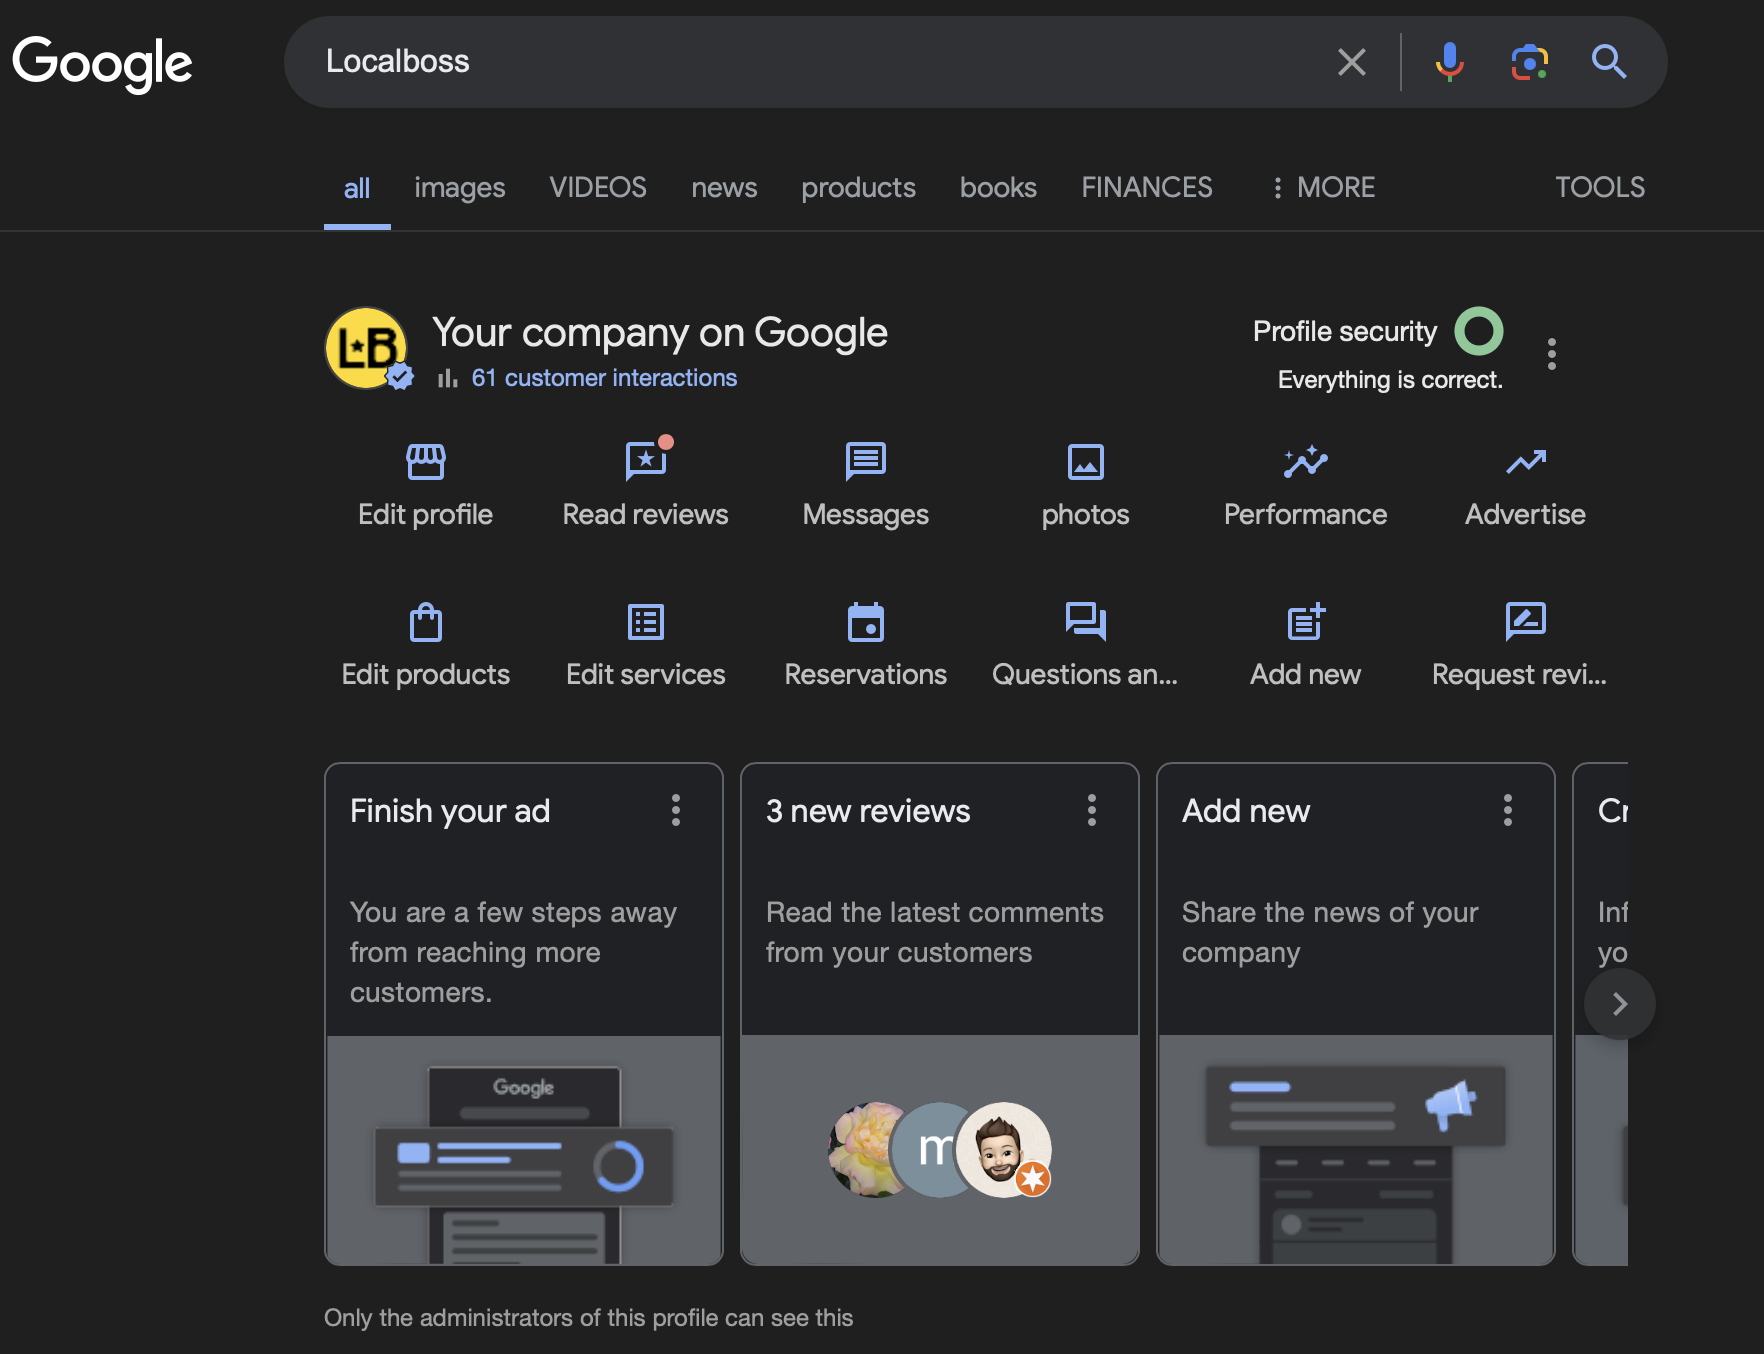
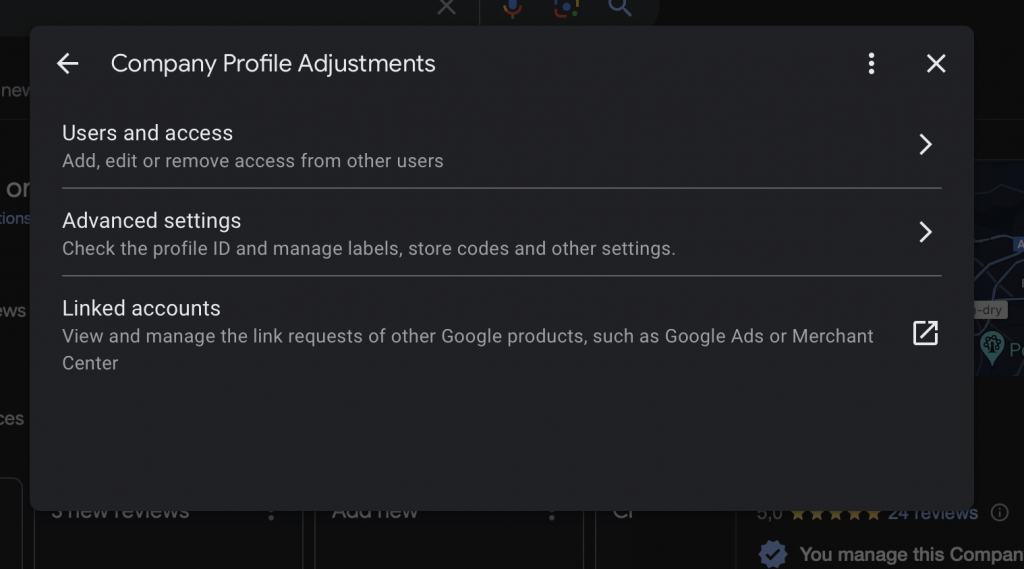
In your business management panel in the Google menu, look for “Options” (three dots) and “Business Profile Settings” Then, click on the “People and Access” icon.

Step 4: Add a New User
Here you will see a list of current users with access to your Google Business profile. To add a new user, click on the button with the “Add” icon.
Step 5: Enter the Email Address
A pop-up window will appear where you must enter the email address of the person you want to add and their name. Make sure to use an email address associated with a Google account.
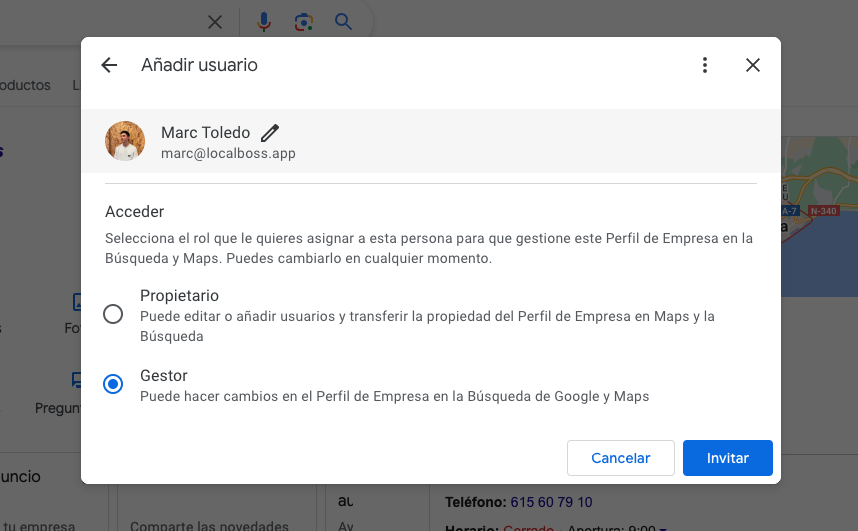
Step 6: Choose the User Role
Google My Business allows you to assign different roles to users, each with different levels of access. These roles are:
- Owner: Has full control over the profile, including the ability to add or remove other users.
- Manager: Can do almost everything an owner can, except add or remove users.
Select the role that best fits your business’s needs. Typically, this will be the manager option.
Step 7: Send the Invitation
Once you have entered the email address and selected the role, click “Invite” to send the invitation. The user will receive an email with a link to accept the invitation and gain access to your Google Business profile.
Step 8: Confirmation and User Management
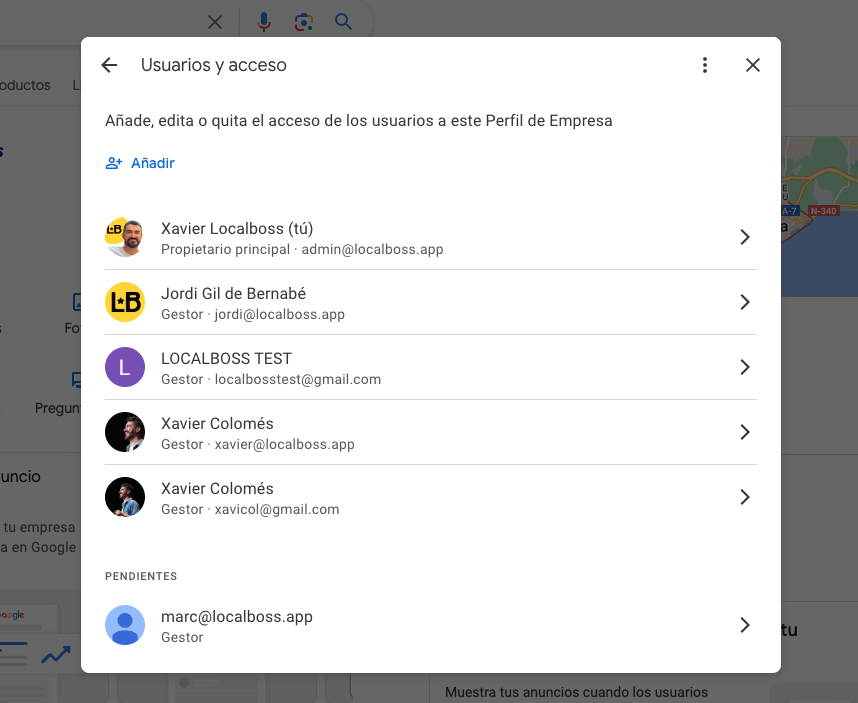
After sending the invitation, the new user will appear in your user list with the status “Pending” until they accept the invitation. Once accepted, you will see their updated status and can manage their permissions at any time from the same user menu.
Conclusion
Adding a user to your Google Business profile is a simple process that can significantly improve the management of your online presence. By following these steps, you can share responsibilities and ensure that your profile always reflects the best image of your business.
With tools like Localboss, you can manage your Google reviews more efficiently and ensure that every interaction with your customers is positive. To allow multiple users to access your profile on Localboss, you need to follow this process to add them as users to your Google Business profile first.